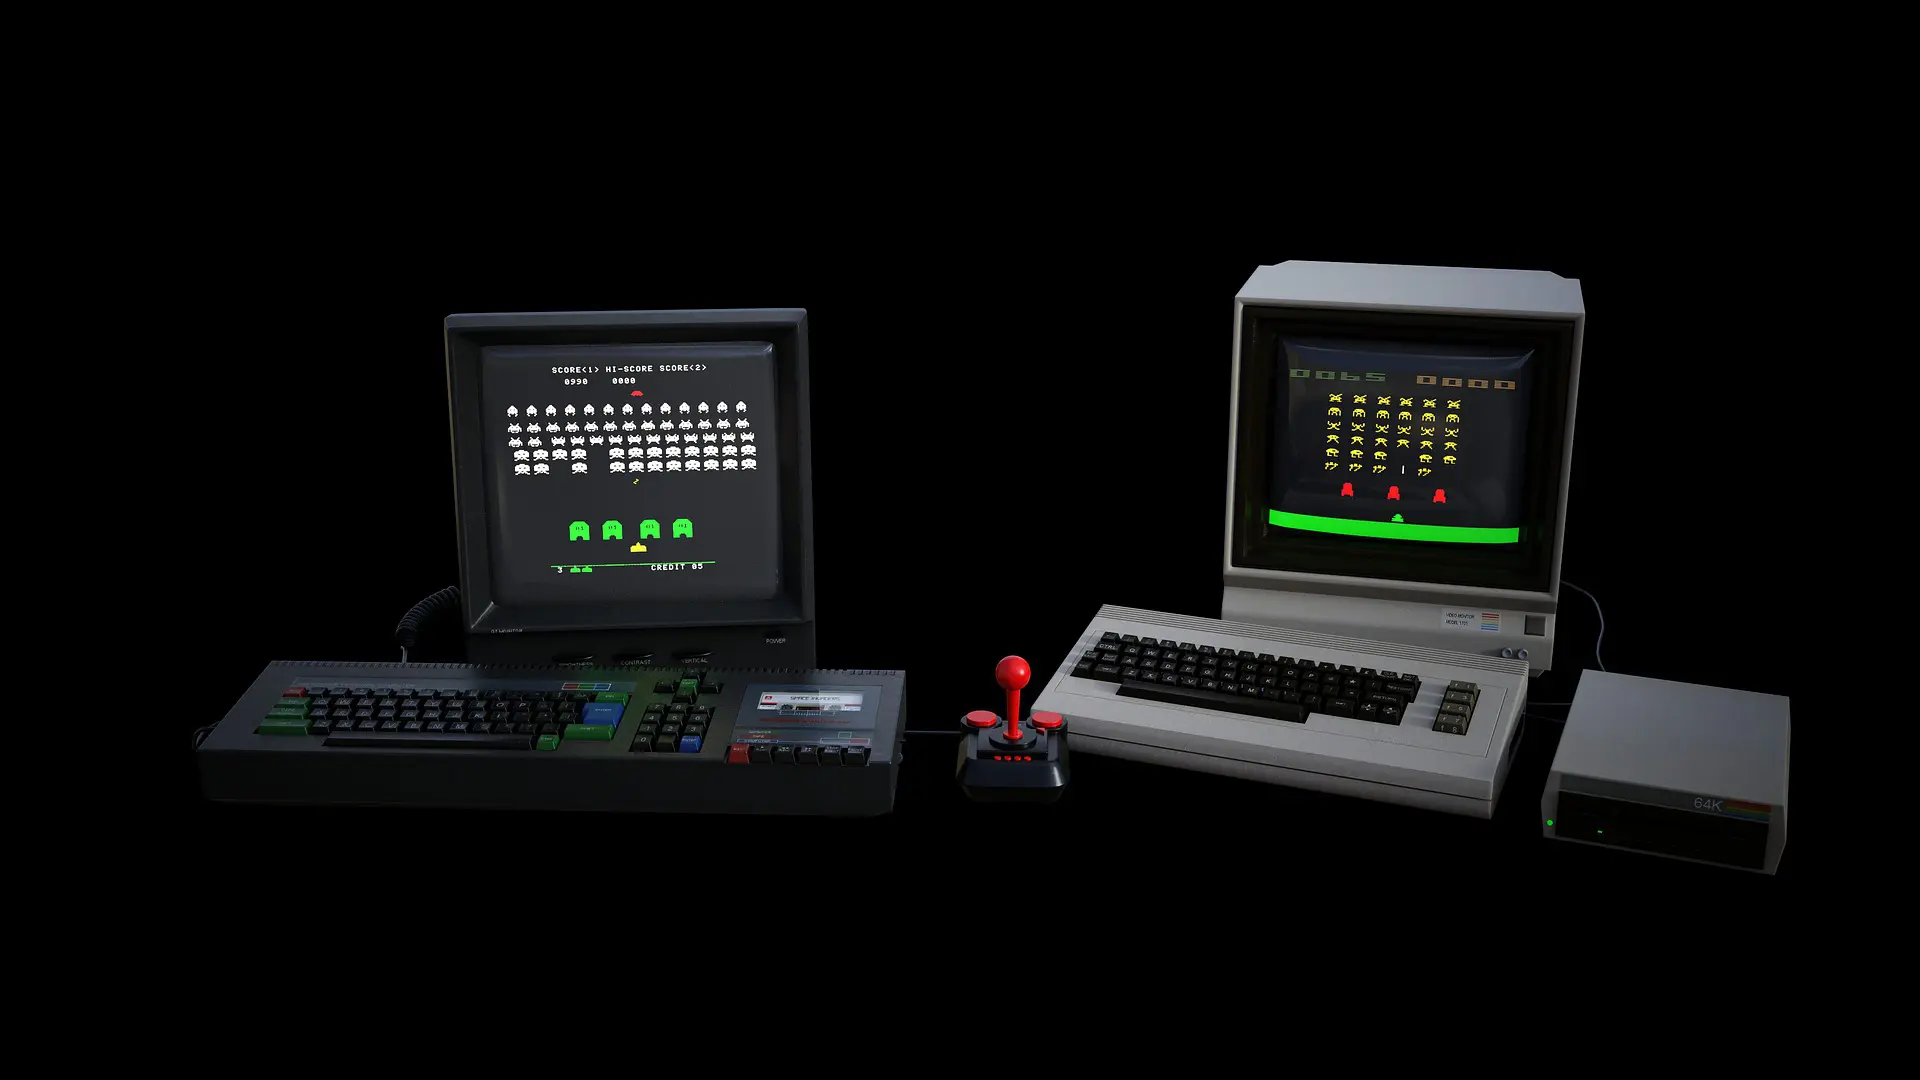
Creating a Retro Gaming Console with Arduino: A Comprehensive Guide


Introduction
Creating your own retro gaming console with Arduino can be an exciting project that combines nostalgia and electronics. This comprehensive guide will walk you through every step of the process, ensuring you can build your console without needing to search for additional information on the internet. Even if you’re not an experienced Arduino programmer, you’ll be able to follow along and successfully complete the project.
Required Components
To build a retro gaming console with Arduino, you’ll need the following components:
- Arduino Uno or compatible board
- TFT LCD Display (preferably with a touch screen)
- Joystick or buttons for controls
- MicroSD card for storing games
- Breadboard and jumper wires
- A compatible power supply
- Optional: 3D-printed or custom-made enclosure
Step-by-Step Instructions
- Assemble the hardware: Begin by connecting the TFT LCD display to your Arduino board using the breadboard and jumper wires. Follow the pin layout provided by the display manufacturer, ensuring all connections are secure. Next, attach the joystick or buttons to the breadboard for controls. Be sure to wire the buttons according to their corresponding functions in the games.
- Load games onto the MicroSD card: Download your favorite retro games in the appropriate file format (usually .bin or .hex) and load them onto the MicroSD card. Ensure that the games are compatible with the Arduino platform and follow any licensing requirements. Create a directory on the MicroSD card specifically for storing the game files, making it easier for the Arduino to locate and load them.
- Program the Arduino: Write or obtain the necessary code to run the gaming console. Many open-source examples are available online that you can use as a starting point. Customize the code to support the specific games you’ve loaded onto the MicroSD card, and make sure the code correctly interfaces with the TFT display and control inputs.
- Upload the code to the Arduino: Connect your Arduino board to your computer using a USB cable. Open the Arduino IDE, select the correct board and port, and upload the code to the board. The IDE will compile and upload the code, providing feedback on any errors encountered during the process.
- Test and troubleshoot: Power on your console and ensure that the display functions correctly, showing the game selection menu or startup screen. Test all the control buttons, checking for responsiveness in the games. Adjust the brightness and contrast of the display as needed using the Arduino code or display settings. Make sure all games load and run smoothly, and address any performance issues by optimizing the code or adjusting hardware connections.
- Enclosure (optional): To give your retro gaming console a polished, professional look, create or find a custom enclosure. This can be achieved through 3D printing, laser cutting, or even hand-crafting from wood or plastic. Design the enclosure to accommodate the Arduino board, TFT display, and control inputs, and ensure that it provides proper ventilation for the electronic components.
Conclusion
Building a retro gaming console with Arduino is a fantastic project for both beginners and experienced electronics enthusiasts. With this comprehensive guide, you’ll be able to assemble your console without needing to look for additional information. Arduino provides all the necessary tools and components to create a unique device that will bring you hours of enjoyment playing classic retro games.
Recent Posts
How to Manage an Online Community: Best Practices for Success
In today's digital age, online communities have become a pivotal aspect of brand building, marketing, and fostering user engagement. Proper…
The Future Smart Home: Automation, Energy Efficiency & Next-gen Technologies
Automation, Energy Efficiency, and Cutting-edge Technologies in Domestic Management. 1. Introduction In today's world, technology continues to become more integrated…
Building an Online Community: A Step-by-Step Guide
In today's digital age, online communities have become hubs for knowledge exchange, shared interests, and camaraderie. If you're thinking of…
Blockchain’s Revolution in Real Estate: Ushering in Transparency
Blockchain, originally known as the backbone technology of cryptocurrencies, holds potential far beyond the financial sector. One such area where…
Leveraging Graph Databases for Complex Data Structure Analysis: An Overview of Benefits and Application Methods
The contemporary data landscape is ever-expanding and becoming more intricate, and conventional analysis tools and methods often fall short in…
Leveraging Quantum Computers in Scientific Research: A Revolution in the World of Science
The emergence of the first working prototypes of quantum computers signaled a new era of scientific exploration. With a fundamentally…