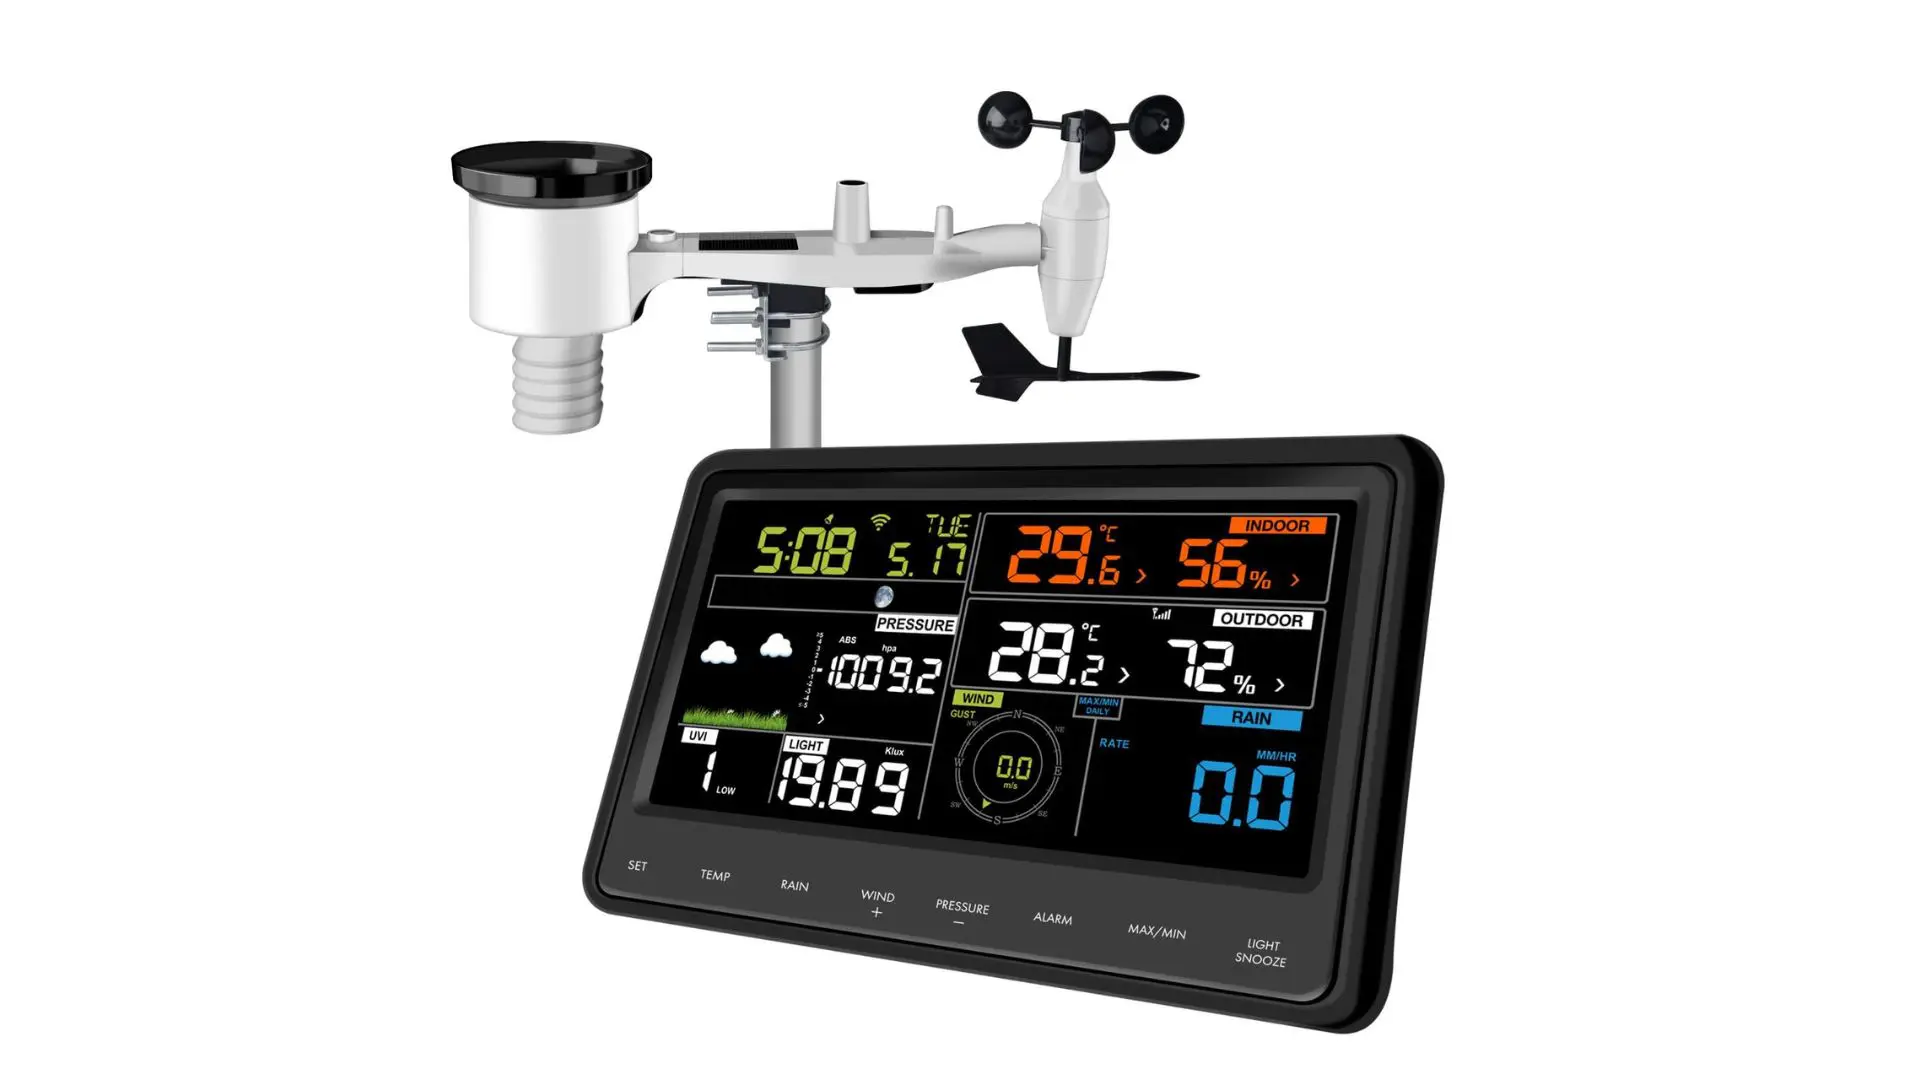
Creating a Weather Monitoring Station with Arduino: A Comprehensive Guide


Introduction
Weather monitoring is an essential aspect of our daily lives, as it helps us plan our activities and make informed decisions. With the growing popularity of DIY electronics, building a weather monitoring station using Arduino has become a popular and educational project. In this guide, we will discuss the steps to create a weather monitoring station with Arduino, focusing on key aspects such as components, programming, and maintenance.
Components and Materials
To build a weather monitoring station with Arduino, you will need the following components:
- An Arduino board (e.g., Arduino Uno, Mega, or Nano)
- Weather sensors, such as temperature and humidity sensor (DHT11, DHT22, or BME280), barometric pressure sensor (BMP180 or BMP280), and wind speed sensor (anemometer)
- A display module, such as an LCD or OLED display
- A Wi-Fi or Ethernet module for data transmission (e.g., ESP8266 or Ethernet Shield)
- Breadboard and jumper wires for making connections
- A suitable enclosure to protect the components from environmental factors
Assembling the Hardware
Start by connecting the weather sensors to the Arduino board:
- Connect the temperature and humidity sensor to the appropriate pins on the Arduino board (e.g., D2 or D3 for DHT11/DHT22, or I2C pins for BME280)
- Connect the barometric pressure sensor to the I2C pins (SDA and SCL) on the Arduino board
- Attach the wind speed sensor to an analog or digital pin on the Arduino board, depending on the sensor type
- Connect the display module to the corresponding pins on the Arduino board (e.g., I2C pins for an OLED display, or specific digital pins for an LCD)
- Finally, connect the Wi-Fi or Ethernet module to the Arduino board, ensuring the correct pins are used for data transmission
Programming the Arduino
To program the Arduino for your weather monitoring station, follow these steps:
- Install the necessary libraries for your weather sensors and display module (e.g., DHT library, Adafruit BMP280 library, or LiquidCrystal/Adafruit_SSD1306 library)
- Write the code to initialize the sensors and display module, setting up the required parameters and communication protocols
- In the main loop of your code, read the sensor data at regular intervals (e.g., every minute)
- Convert the sensor data to a user-friendly format (e.g., degrees Celsius, percentage humidity, etc.)
- Display the weather information on the display module, using an appropriate library (e.g., LiquidCrystal or Adafruit_SSD1306)
- Transmit the data to a remote server or cloud service (e.g., via Wi-Fi or Ethernet module) for further analysis and storage
Placement and Maintenance
When choosing a location for your Arduino-based weather monitoring station, consider the following recommendations:
- Place the station in an open area, away from buildings and vegetation, to avoid interference
- Protect the sensors from direct sunlight to ensure accurate readings
- Position the sensors at a safe distance from water and heat sources
Regularly check the performance of your weather station and clean the sensors from dust and dirt to maintain accuracy.
Conclusion
Building a weather monitoring station with Arduino is an exciting and practical project that allows you to learn many new skills and obtain valuable weather data. By following this guide, you can assemble your own weather station and use it to monitor weather conditions in real-time.
Recent Posts
How to Manage an Online Community: Best Practices for Success
In today's digital age, online communities have become a pivotal aspect of brand building, marketing, and fostering user engagement. Proper…
The Future Smart Home: Automation, Energy Efficiency & Next-gen Technologies
Automation, Energy Efficiency, and Cutting-edge Technologies in Domestic Management. 1. Introduction In today's world, technology continues to become more integrated…
Building an Online Community: A Step-by-Step Guide
In today's digital age, online communities have become hubs for knowledge exchange, shared interests, and camaraderie. If you're thinking of…
Blockchain’s Revolution in Real Estate: Ushering in Transparency
Blockchain, originally known as the backbone technology of cryptocurrencies, holds potential far beyond the financial sector. One such area where…
Leveraging Graph Databases for Complex Data Structure Analysis: An Overview of Benefits and Application Methods
The contemporary data landscape is ever-expanding and becoming more intricate, and conventional analysis tools and methods often fall short in…
Leveraging Quantum Computers in Scientific Research: A Revolution in the World of Science
The emergence of the first working prototypes of quantum computers signaled a new era of scientific exploration. With a fundamentally…